All of the steps above need to have been completed.
This is a an example for one of the sites Qsoar_PROD (the Production web site). Each of the steps below under installation, needs to be completed for each site.
Note that we require .NET Framework 4.6.2.
From administrative tools, run 'Internet Information Services (IS)'. In this example we will be adding the Systems Integration TEst (SIT) site. THe other sites, UAT and PROD follow the same steps.
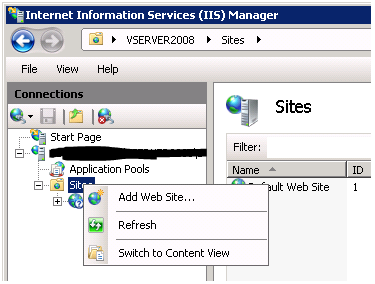
Expand the left panel in Internet Information Services Manager (IISM). Right click on sites and click on 'Add Website...'
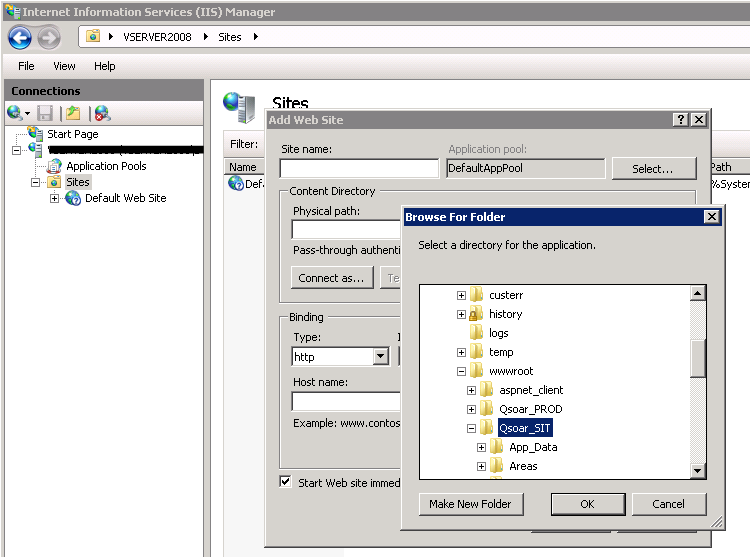
Select the site that you want to configure by browsing the 'Physical Path' , expanding Local Disk C, InetPub, wwroot, until you find the site you want. (In this example 'Qsoar_SIT'), and press OK.
Now the site name (in this case 'Qsoar_SIT') and change the Port to which ever port you propose to use on this server. This may depend on hour your internal DNS system is set up, and whether you are share servers for the sites. This Microsoft TechNet article shows how to configure a Host Header for a Web site on IIS7, which would allow you to have a named site with and let you assign more than one site to a single IP address on a Web server. For simple SIT and UAT you may elected to have a unique port starting with 8080, so the first site should be 8080, the second 8081 and so on. In this case we will use 8081, and our users would test this site by pointing their browsers to http://[ServerName]:8081.
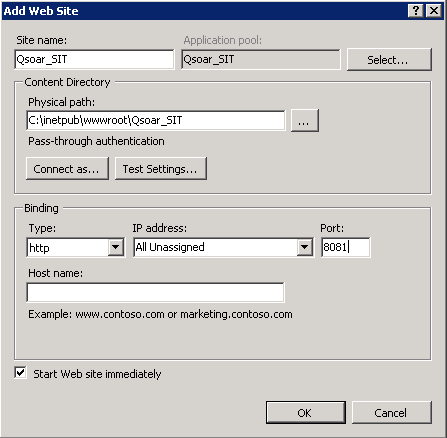
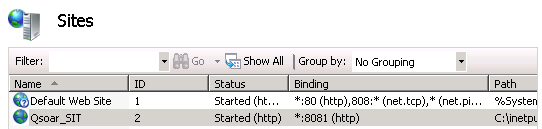
Note that the application pool changed when you added the site name. And now press OK.
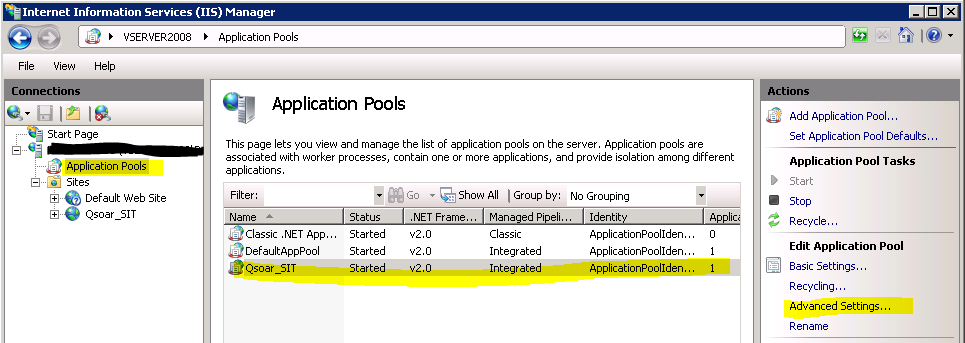
Configuring the Application Pool
In the left panel of IIS Manager select Application pools, In the middle our new site's application pool (Qsoar_SIT), and on the right panel: 'Advanced Settings...'
In advanced settings change the following settings:
Make sure that .NET CLR version is selected as v4.0 (and not 2.0).
Change the ApplicationPoolIdentity to the Built-in account of NetworkService, or to the required account. In a fully secured domain, your organisation will have policies that may require a specific account. This account will need access to SQL Server account, as the db owner (default dbo schema) so that we can perform database updates at a later stage.
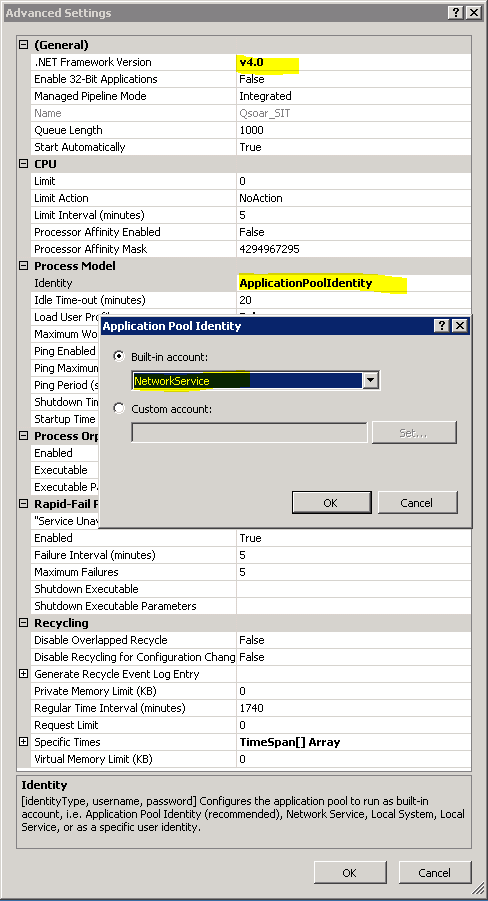

You may want to increase the idle time out to a greater value depending on the number of users and the performance limits of your server. We suggest 720 minutes to give the users sessions of 12 hours (but see also the configuration settings of the site below).

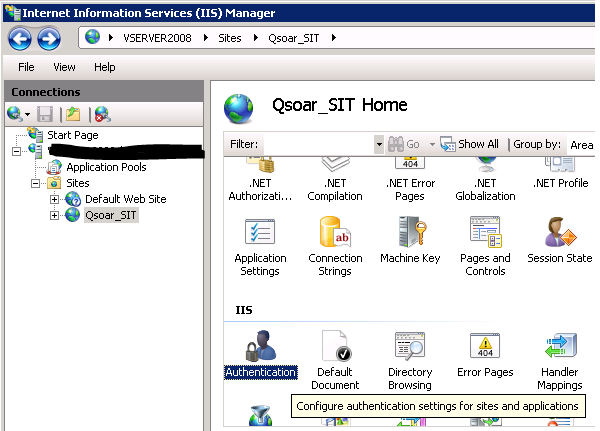
From the left panel of IISM select our web site (in our example 'Gold') and select in the middle panel 'Authentication'.
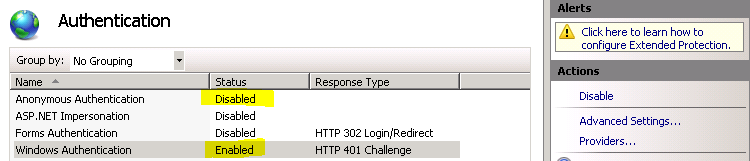
Change the setting to : Disable Anonymous Authentication, and Enable Windows Authentication. Click on each item, and use the right hand side panel under actions to enable and disable.
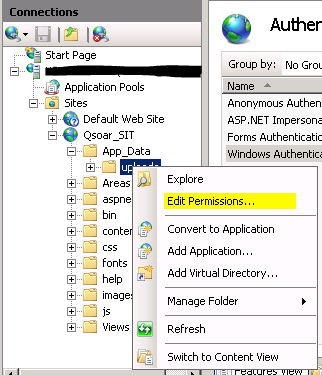
Expend the folder view of the Site, select App_Data, and then uploads, and right click on the 'uploads' folder.
Select 'Edit Permissions..',
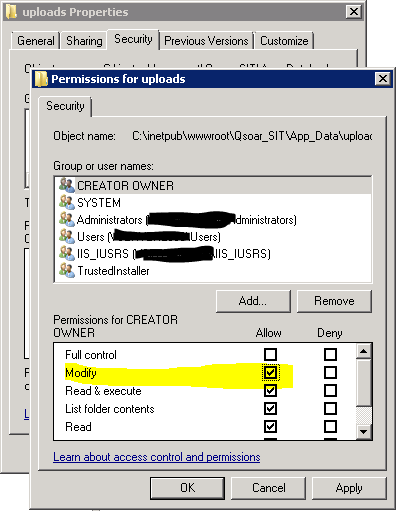
Click on the security tab of the 'uploads Properties' dialog.
Clicked the edit button, and give the IIS_IUSRS account modify permission, which will also tick the write check box (This is where we upload the excel spreadsheets for import, and generate the temporary ones for export by the 'Microsoft.ACE.OLEDB.12.0' provider for Excel import/export), and click Apply, and OK to exit.
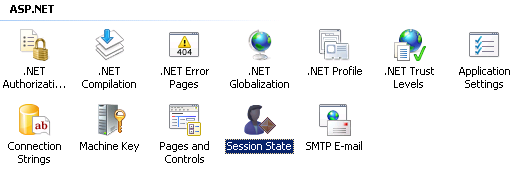
Click on the Session State icon in the middle pane of IIS Manager (when in features view).
Change the 'Time-out (in minutes)' value to the new value, in our case 720.
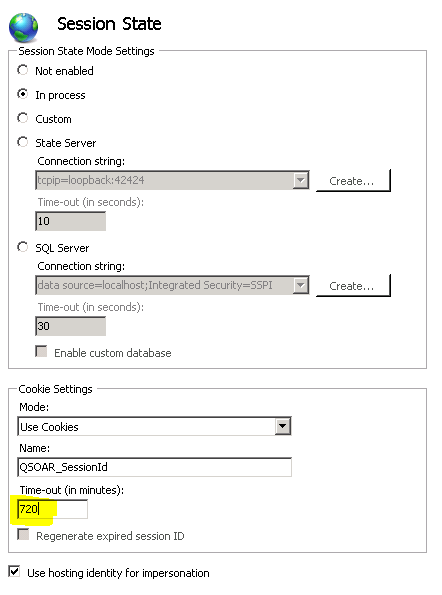
And save the changes.
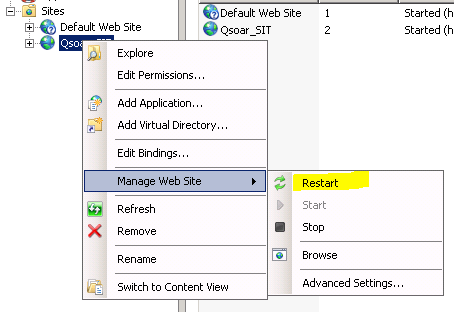
Restart the site to make sure all the setting are loaded and the site is working.
At this stage the website should be good to run.
Make sure that the web address is in the Local Intranet sites site for ie11 and Chrome, and for fire fox see how to fix the authentication required in FireFox even though you are on a local network.
Repeat these steps for the other sites UAT and PROD.